Table of Contents
ToggleChoosing a kitchen backsplash isn’t just about protecting drywall from splatter, it’s one of the most visible design moves in the room. Home Depot stocks everything from budget-friendly ceramic subway tile to premium glass mosaics, plus all the adhesive, grout, and tools needed to get it on the wall. This guide walks through what’s actually available on their shelves, how to pick a material that fits both the look and the work level, and how to install it without making rookie mistakes that show up under cabinet lighting.
Key Takeaways
- Home Depot offers a wide selection of kitchen backsplash materials including ceramic, porcelain, glass, stone, and peel-and-stick options with consistent stock availability and same-day purchase capabilities for projects.
- Ceramic subway tile remains the most affordable and beginner-friendly choice at $0.50–$2 per square foot, while proper surface prep, a level reference line, and 24-hour thinset curing are critical to avoid costly installation failures.
- Grout color and tile size significantly impact the final aesthetic; white grout on white subway creates a seamless look, while larger-format tiles reduce grout lines but require level walls.
- Peel-and-stick backsplash offers a quick, tool-free alternative at $8–$20 per square foot, but requires meticulous surface cleaning and should stay 6 inches away from heat sources.
- A DIY ceramic kitchen backsplash for 30 square feet costs $100–$300 total, while professional installation adds $10–$25 per square foot, making Home Depot’s clearance tile and rental options smart money-saving strategies.
- Natural stone requires sealing and careful maintenance, glass shows water spots easily, and matte porcelain hides smudges better than glossy ceramic, so choose based on realistic cleaning commitment.
Why Home Depot Is a Top Choice for Kitchen Backsplash Materials
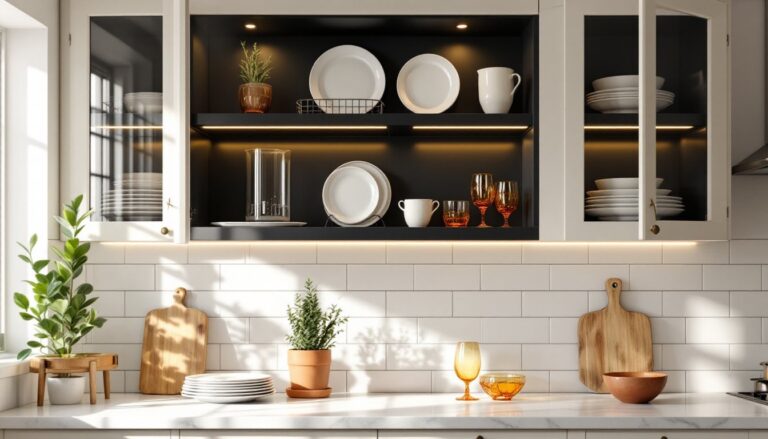
Home Depot carries a deep inventory of backsplash tile in every format: ceramic, porcelain, glass, natural stone, metal, and peel-and-stick vinyl. Walk into most stores and you’ll find dedicated tile aisles with sample boards mounted at eye level, so you can see scale and finish in real light, not just a website thumbnail.
Stock availability matters when you’re midproject. Big-box stores like Home Depot keep common sizes (3×6-inch subway, 12×12-inch field tile, standard mosaics) in consistent supply, which means if you miscalculate square footage or crack a tile during cutting, you can grab more the same day. Online-only boutiques often involve weeks of lead time and minimum-order quantities that don’t make sense for a small backsplash.
Tool and material consolidation is another practical win. The same trip that gets you tile also gets you thinset mortar, grout, a notched trowel, tile spacers, and a wet saw rental. You’re not coordinating shipments from four vendors. Home Depot also publishes project calculators on their site for estimating tile quantity, grout, and adhesive, helpful for first-timers who aren’t confident converting square footage to boxes.
Price transparency is clearer in-store. You see per-square-foot costs on shelf tags, compare samples side by side, and check for in-stock clearance or open-box tile that can cut material cost by 30–50% if you’re flexible on style. Their return policy (typically 90 days with receipt for unused tile) gives some breathing room if you overbuy.
Most Popular Backsplash Styles Available at Home Depot
Subway Tile and Classic Options
Ceramic subway tile remains the workhorse: 3×6-inch rectangles in white, off-white, or light gray. It’s affordable (often $0.50–$2 per square foot), easy to cut with a manual tile cutter or wet saw, and forgiving for beginners because the running-bond pattern hides minor lippage. Home Depot’s house brands (Merola, Daltile, Jeffrey Court) all offer versions with slight texture or beveled edges.
Classic doesn’t mean boring. Subway tile laid vertically, in a herringbone, or with contrasting grout (charcoal grout with white tile, for example) shifts the look without adding cost or difficulty. Textural white tiles in subway format introduce subtle relief patterns that catch light differently than flat ceramic.
Beyond subway, you’ll find 4×4-inch field tile, hexagons, arabesque (lantern-shaped) mosaics, and penny rounds on mesh backing. Mosaics cost more per square foot ($8–$15) but cover faster because each 12×12-inch sheet equals a square foot. The mesh backing keeps tiny tiles aligned during installation, though cutting around outlets gets fiddly, expect to snip individual tiles with nippers.
Porcelain versions of these classics run about 20–40% more than ceramic but offer better stain resistance and durability, which matters behind a stove where grease and heat concentrate.
Modern Peel-and-Stick Backsplashes
Peel-and-stick tile has improved dramatically in the past five years. Home Depot stocks brands like Smart Tiles and Tic Tac Tiles, vinyl or gel products with adhesive backing that stick directly to clean, primed drywall or existing tile. No thinset, no grout, no wet saw.
They’re legitimately useful for renters, quick flips, or anyone who wants a cosmetic refresh without demolition. Expect to pay $8–$20 per square foot. The gel versions (often marketed as 3D or raised) mimic subway or mosaic patterns with surprising depth. Vinyl versions are flatter and more obviously synthetic up close.
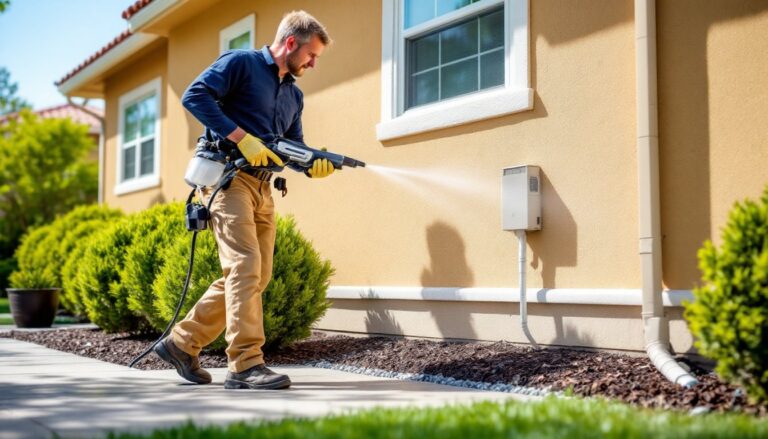
Installation takes minutes per sheet, but surface prep is non-negotiable. Any grease, texture, or dust will cause edges to lift within weeks. Wipe walls with degreaser (TSP substitute works), let dry fully, and work in moderate temperatures (60–80°F), adhesive won’t bond properly in a cold garage or a 90-degree summer kitchen.
Peel-and-stick won’t hold up directly behind a cooktop where heat cycles cause adhesive to soften. Keep it to areas at least 6 inches away from open flame or use a metal or tempered-glass heat shield in that zone.
How to Choose the Right Backsplash for Your Kitchen
Start with the countertop and cabinet colors already in place, unless you’re replacing those too. Busy granite pairs better with solid or subtle tile. Solid-color quartz gives room to use bold patterns or mixed materials. Bring a countertop sample chip (most fabricators give you leftovers) when you visit the tile aisle.
Grout color makes or breaks the final look. White grout on white subway keeps things clean and seamless: dark grout creates a grid that either looks intentional or busy, depending on tile size. Sample boards in-store often show the same tile with multiple grout colors.
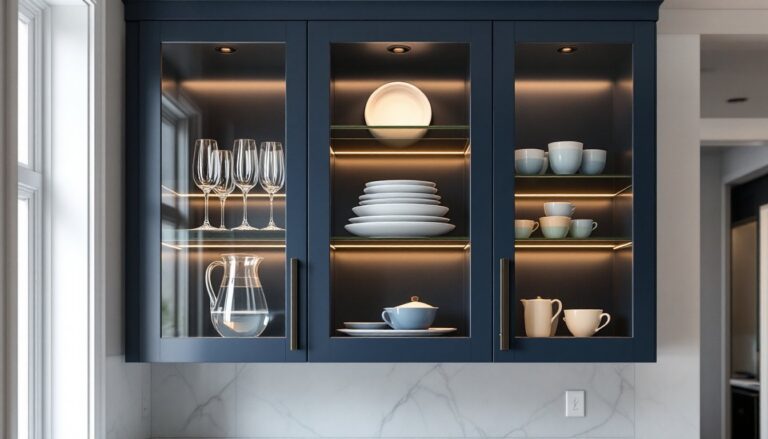
Consider maintenance honestly. Natural stone (marble, travertine) needs periodic sealing and will etch if you splash lemon juice or vinegar. Glass mosaics show every water spot and fingerprint but wipe clean with glass cleaner. Matte-finish porcelain hides smudges better than glossy ceramic but can be harder to clean if grease builds up in the texture.
Height matters more than most people think. Standard backsplash runs from the counter to the bottom of upper cabinets, typically 18 inches. If you’re doing a full-height backsplash (counter to ceiling), calculate square footage carefully and budget extra for cutting around soffits, outlets, and windows. Full-height looks dramatic but adds cost and labor.
If the kitchen has a range hood, decide whether the backsplash will continue behind it or stop. Some hoods mount flush to the wall and cover the tile area: others (like chimney-style hoods) expose the wall, and tile needs to run behind them. Measure the hood footprint before buying tile.
For DIYers installing their first backsplash, larger-format tiles (like 4×12-inch planks or 12×24-inch panels) mean fewer grout lines and faster coverage, but they’re less forgiving on out-of-plumb walls. Smaller mosaics and subway tile let you fudge minor irregularities without obvious gaps.
Step-by-Step: Installing Your Home Depot Backsplash
Prep the surface first. Remove outlet covers and switch plates. Wipe walls with a degreaser, rinse, and let dry. If the drywall is painted with glossy paint, scuff it lightly with 100-grit sandpaper so thinset bonds properly. If there’s existing tile and it’s solid, you can tile over it, just clean thoroughly and use a bonding primer.
Lay out a dry run. Use a level to mark a horizontal reference line one tile-height above the counter. Counters aren’t always level: if you start at the counter edge, your tile rows will follow the dip and look crooked. The reference line keeps everything straight. Lay tiles on the counter in the pattern you plan, with spacers, to see where cuts will fall and avoid narrow slivers at edges.
Mix thinset according to bag instructions. For most ceramic and porcelain backsplash tile, use white thinset (gray thinset can telegraph through light or translucent tile). Let it slake for 10 minutes, then re-mix. Use a ¼×¼-inch notched trowel for tiles up to 8 inches: larger tiles may need a ¼×⅜-inch notch. Spread thinset in small sections (about 3 square feet) so it doesn’t skin over.
Set tiles along the level line, pressing firmly with a slight twist. Insert tile spacers (1/16-inch or ⅛-inch, depending on grout-line preference) at every corner. Check level and plumb every few tiles. If a tile sits proud, pull it, add or remove thinset, and reset. You have about 20 minutes of working time before thinset starts to set.
Cut tiles as needed with a wet saw (Home Depot rents them for about $50/day) for straight cuts, or a tile nipper and rubbing stone for notches around outlets. Outlets require rectangular cutouts, measure carefully, mark with a pencil, and cut slowly. Electrical code requires boxes to be flush with the finished tile surface: if tile adds thickness, you may need box extenders.
Let thinset cure for 24 hours before grouting. Don’t skip this. Grouting too early can shift tiles.
Grout the joints with unsanded grout for lines ⅛-inch or narrower, sanded grout for anything wider. Mix to peanut-butter consistency. Use a rubber grout float held at 45 degrees, pressing grout into joints diagonally across tile. Wipe off excess with a damp sponge, rinsing frequently. Let grout haze over for 15 minutes, then polish with a dry cloth.
Seal grout after 72 hours with a penetrating sealer if you used cement-based grout. Epoxy grout doesn’t need sealing but costs more and is harder to work with.
Safety: Wear safety glasses when cutting tile (chips fly), a dust mask when mixing thinset or grout, and gloves if your skin is sensitive to alkaline materials. A wet saw throws a lot of water: set up outdoors or in a garage with a GFCI-protected outlet.
Budgeting Your Backsplash Project: Costs and Money-Saving Tips
Material costs vary widely. Ceramic subway tile starts around $0.50–$2 per square foot: porcelain runs $2–$6: glass mosaics hit $10–$20: natural stone can push $15–$40. A typical backsplash covering 30 square feet (18 inches high, 20 linear feet of wall) costs $15–$600 in tile alone, depending on material.
Thinset runs about $15–$25 for a 50-pound bag (covers roughly 50 square feet at ⅛-inch thickness). Grout costs $10–$30 per bag, depending on type. Add spacers ($5), a notched trowel ($8–$15), a grout float ($6), and a sponge kit ($8). If you don’t own a wet saw, rental is about $50/day: a manual tile cutter costs $25–$60 to buy outright and handles straight cuts on ceramic just fine.
All-in, a DIY ceramic subway backsplash typically costs $100–$300 for 30 square feet, assuming you have basic hand tools. Porcelain or mosaic tile pushes that to $300–$800. Peel-and-stick runs $240–$600 for the same area, with zero tool cost but higher per-square-foot material expense.
Professional installation adds $10–$25 per square foot in labor, according to Angi and HomeAdvisor. That same 30-square-foot backsplash installed by a pro costs $300–$750 in labor alone, plus materials. Pros make sense if you’re doing intricate mosaic inlays, have tricky cuts around windows, or don’t want to rent tools for a one-time project.
Money-saving tips: Buy tile in-store from the clearance or open-box section, discontinued colors and overstock often sit at 40–60% off. Overbuy by 10% for cuts and breakage, but keep boxes unopened if possible: you can return unopened tile within 90 days. Use a manual tile cutter instead of renting a wet saw if your tile is ceramic and cuts are simple. Skip expensive premixed thinset and grout: dry bags mixed at home cost half as much. If you’re doing multiple rooms, buy or split a wet saw rental with a neighbor tackling a bathroom.
Don’t cheap out on surface prep or quality thinset. Failed adhesion means pulling tile and starting over, which doubles cost and triples frustration.