Table of Contents
ToggleUpgrading to a home theater setup doesn’t mean surrendering floor space to bulky tower speakers or navigating a maze of speaker stands. In-ceiling speakers deliver powerful, immersive audio while maintaining clean sight lines and open living areas. They’re particularly valuable in rooms where aesthetics matter as much as sound quality, think open-concept spaces, finished basements, or media rooms that double as family hangouts. But success hinges on choosing the right models and installing them correctly. Cut corners on placement or wire gauge, and the listening experience suffers. This guide walks through speaker types, selection criteria, installation techniques, and the mistakes that trip up even experienced DIYers.
Key Takeaways
- In-ceiling home theater speakers eliminate floor clutter while delivering immersive Dolby Atmos and DTS:X overhead effects that traditional floor speakers cannot replicate.
- Proper installation requires careful planning: use a stud finder to locate joists, run CL-rated speaker wire at 16-gauge or thicker, and mount speakers between joists at least 12 inches from walls for optimal acoustics.
- Speaker selection should match room size—6.5-inch woofers suit rooms up to 200 square feet, while 8-inch models handle spaces up to 400 square feet—and prioritize enclosed-back designs in insulated ceilings to prevent sound leakage.
- Common mistakes like undersized wire, reversed speaker polarity, and neglecting insulation contact significantly degrade sound quality and can damage amplifiers or speaker components.
- Atmos-enabled ceiling speakers cost $150–$400 per unit but consolidate multiple functions into single fixtures, though compatibility with your AVR’s audio format support should be verified before purchase.
- Consider hiring a professional AV installer for finished ceilings without attic access, as fishing wire through complex framing or load-bearing structures often requires specialized tools and may require building permits.
Why Choose In Ceiling Speakers for Your Home Theater?
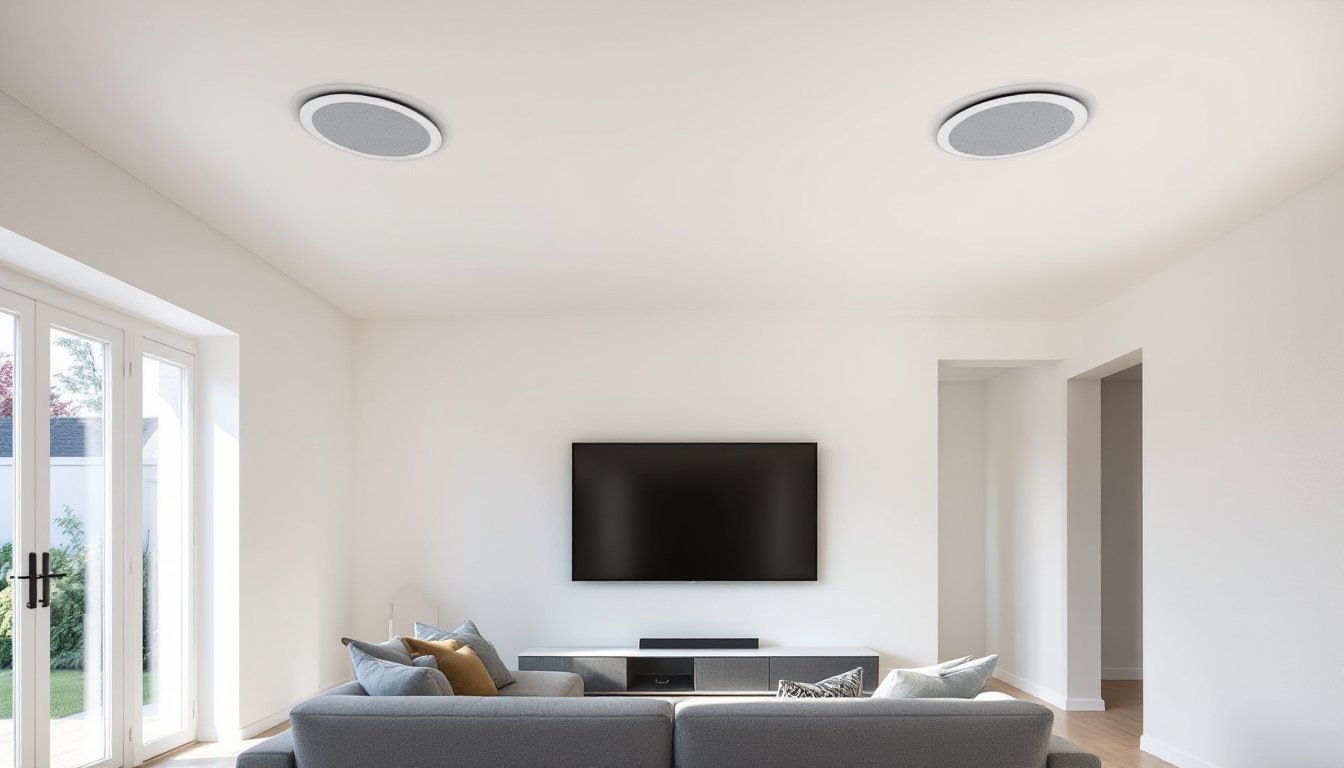
In-ceiling speakers solve spatial and aesthetic challenges that traditional floor or bookshelf models can’t. They free up square footage, eliminate tripping hazards from speaker cables, and disappear into the architecture when painted to match the ceiling. For families with kids or pets, this reduces the risk of knocked-over stands or damaged speaker cones.
From an acoustic standpoint, ceiling-mounted speakers excel at creating height channels for Dolby Atmos and DTS:X soundtracks. These formats add overhead audio cues, rainfall, helicopters, ambient effects, that surround-sound setups can’t replicate with ear-level speakers alone. Even without Atmos, a well-placed set of ceiling speakers provides even coverage across seating areas, reducing sweet-spot limitations common with directional tower speakers.
Installation does require cutting into drywall and running speaker wire through ceiling cavities, so they’re best suited to homeowners comfortable with permanent modifications. Renters or those planning to move within a few years may prefer wireless or freestanding alternatives. Also consider room height: ceilings above 10 feet may require speakers with wider dispersion angles to adequately cover the listening area without sounding distant or thin.
Types of In Ceiling Home Theater Speakers
Not all ceiling speakers are built for the same job. Standard models function as general-use speakers for music or ambient sound, while dedicated home theater designs prioritize dialogue clarity and dynamic range. Look for models with pivoting tweeters (also called aimable or angled tweeters), which let the installer direct high frequencies toward the primary seating position even when the speaker itself mounts off-center.
Coaxial designs, where the tweeter sits in the center of the woofer, offer better point-source imaging than separate driver layouts. They’re ideal for front-channel speakers (left, center, right) where precise stereo separation matters. Dual-driver models with separate tweeters and woofers work fine for surround or height channels, where ambient fill is more important than pinpoint accuracy.
Pay attention to power handling and sensitivity ratings. Speakers rated at 89 dB sensitivity or higher require less amplifier power to reach the same volume as lower-sensitivity models. This matters if the receiver or amp has limited wattage per channel. Impedance typically runs 8 ohms for home theater applications: avoid 4-ohm models unless the receiver explicitly supports lower impedance loads.
Traditional In Ceiling Speakers vs. Atmos-Enabled Models
Traditional in-ceiling speakers mount flush with the ceiling and fire sound straight down. They work well for surround channels or general background audio but lack the upward reflection needed for true Atmos height effects.
Atmos-enabled ceiling speakers feature angled drivers or dual-driver arrays designed to bounce sound off the ceiling or direct it toward specific zones. Some models include both a downward-firing driver for standard surround duties and an angled driver for overhead effects, consolidating two functions into one fixture. These cost more, expect to pay $150–$400 per speaker versus $80–$200 for standard models, but they reduce the total number of ceiling cutouts required.
Manufacturers like Sonos now offer specialized overhead speakers tailored for immersive formats, though availability and installation requirements vary. Verify that the receiver supports the audio format (Atmos, DTS:X) before investing in height-channel speakers: older AVRs may lack the processing capability even if they have enough channels.
How to Choose the Right In Ceiling Speakers for Your Space
Start by measuring the room. Speaker size correlates with room volume: a 6.5-inch woofer suits rooms up to 200 square feet, while 8-inch models handle spaces up to 400 square feet. Larger woofers move more air and produce deeper bass, but they also require bigger cutouts and more clearance above the ceiling. Check attic or plenum depth before ordering: most 8-inch models need at least 4 inches of clearance, while some high-excursion designs demand 6 inches or more.
For rooms with existing insulation, prioritize enclosed-back speakers (also called back boxes or backcan designs). These isolate the speaker from insulation contact, preventing sound waves from radiating into adjacent rooms and reducing fire-code concerns. Open-back speakers (those without enclosures) sound fine in uninsulated ceilings but can transmit noise to upstairs bedrooms or neighboring spaces.
Moisture resistance matters in basements prone to humidity or rooms near bathrooms. Look for speakers with polypropylene or treated-paper cones and rust-resistant grilles. Marine-rated models offer overkill protection for most indoor applications but work well in spa rooms or covered patios.
Match the speaker count to the audio format. A basic 5.1 setup uses three front channels (left, center, right) plus two surrounds, all of which can mount in the ceiling if floor space is tight. Atmos configurations add two to four height channels: a 5.1.2 system includes two overhead speakers, while 5.1.4 adds four. More channels improve immersion but complicate wiring and receiver setup.
Installation Tips for DIY Home Theater Enthusiasts
Safety first: Turn off power to any circuits running through the ceiling before cutting. Use a stud finder with AC detection to locate joists and electrical wiring. Hitting a live wire with a drywall saw can cause serious injury or fire.
You’ll need a drywall saw or hole saw matched to the speaker’s cutout diameter (usually 6.5, 8, or 10 inches). A hole saw creates cleaner edges but produces a lot of dust: a drywall saw offers more control in tight spots. Wear safety goggles and a dust mask, cutting drywall releases gypsum powder that irritates lungs and eyes.
Run 16-gauge speaker wire (minimum) for runs under 50 feet: drop to 14-gauge for longer distances or higher-power applications. Use CL2- or CL3-rated cable for in-wall and in-ceiling installations, this meets fire-safety codes. Staple wire to joists every 16 inches, keeping it at least 1.25 inches from the ceiling surface to avoid accidental penetration during drywall repairs.
Most in-ceiling speakers use dog-ear clamps or rotating cam locks to secure the frame to the drywall. Tighten these evenly to prevent the grille from sitting crooked. Over-tightening can crack drywall around the cutout, especially in older ceilings with multiple paint layers.
Planning Speaker Placement for Optimal Sound
For front channels, position left and right speakers 22–30 degrees off-center from the primary seating position, forming an arc. If the TV mounts on a wall, place the center channel directly in front of the main seat, even if that means offsetting it slightly from the screen’s physical center.
Surround speakers in a 5.1 setup should sit 90–110 degrees to the sides of the listener, slightly behind the seating plane. In Atmos configurations, height channels go directly overhead or slightly forward, depending on the receiver’s speaker configuration settings. Consult home theater guides for room-specific layout diagrams, as ceiling height and furniture placement influence ideal angles.
Avoid placing speakers directly above ceiling joists unless you’re prepared to notch the joist (which may require an engineer’s approval for load-bearing members). Instead, mount between joists. If a joist blocks the ideal location, shift the speaker 6–12 inches rather than compromising structural integrity.
Keep speakers at least 12 inches from walls to reduce boundary reinforcement, which can muddy bass response. In rooms with vaulted or angled ceilings, aim speakers toward the listening area rather than mounting them flush with the slope.
Common Mistakes to Avoid When Installing Ceiling Speakers
Skipping the stud finder: Eyeballing joist location leads to saw-versus-wood collisions that wreck blades and create unnecessary drywall patches. Always verify clearances with a finder before cutting.
Undersized wire: Using 18-gauge zip cord or lamp wire might work at low volumes, but it increases resistance and can cause amplifiers to overheat or speakers to distort at higher levels. Stick with proper speaker cable rated for in-wall use.
Ignoring polarity: Reversing positive and negative connections on one speaker creates phase cancellation, thinning the soundstage and reducing bass impact. Mark wires clearly during the pull, and double-check connections before closing up the ceiling.
Poor hole placement: Cutting too close to HVAC ducts, recessed lights, or plumbing chases forces awkward speaker angles or wasted materials. Map the ceiling cavity with a flexible inspection camera or by removing a light fixture to peek inside.
Neglecting insulation contact: Stuffing fiberglass batts directly against an open-back speaker degrades sound quality and can compress the driver suspension over time. Use enclosed-back models or install a back box to isolate the speaker.
Painting grilles while installed: Overspray clogs speaker mesh and dampens high frequencies. Remove grilles before painting and use light coats of latex paint: avoid heavy enamels that stiffen the mesh.
Many home automation enthusiasts integrate ceiling speakers with smart home systems, but wireless protocols (Bluetooth, Wi-Fi) introduce latency unsuitable for home theater sync. Stick with wired connections from the receiver to the speakers: save wireless tech for whole-home audio zones where lip-sync doesn’t matter.
Finally, know when to call a pro. Running wire through finished ceilings without attic access often requires fishing through walls, which can turn a weekend project into a multi-day ordeal. Licensed electricians or AV installers have the tools and experience to navigate tricky cavity routes, especially in homes with fire blocking or complex framing. If the project involves cutting into load-bearing structures or modifying electrical circuits, local building codes may require permits and inspections, verify requirements with the jurisdiction before starting work.